We know very well that painted walls help to get interiors a new character. With proper preparation, it is a quick and simple process that you can do yourself at home. In this guide, you will learn how to change the look of walls and ceilings, step by step.
Necessary tools:
- Large 25 mm paint roller with a handle
- Small 10 mm paint roller with a handle
- Side-capped roller for painting in corners
- Paint roller aluminum extension pole
- Paint brush
- 80-120 grit sandpaper
- Sandpaper holder
- Drop cloth
- Masking tape
- Knife
- Cloth
- Paint tray
- Paint stirrer
- Brush
- Putty knife
Learn how to paint walls and ceilings
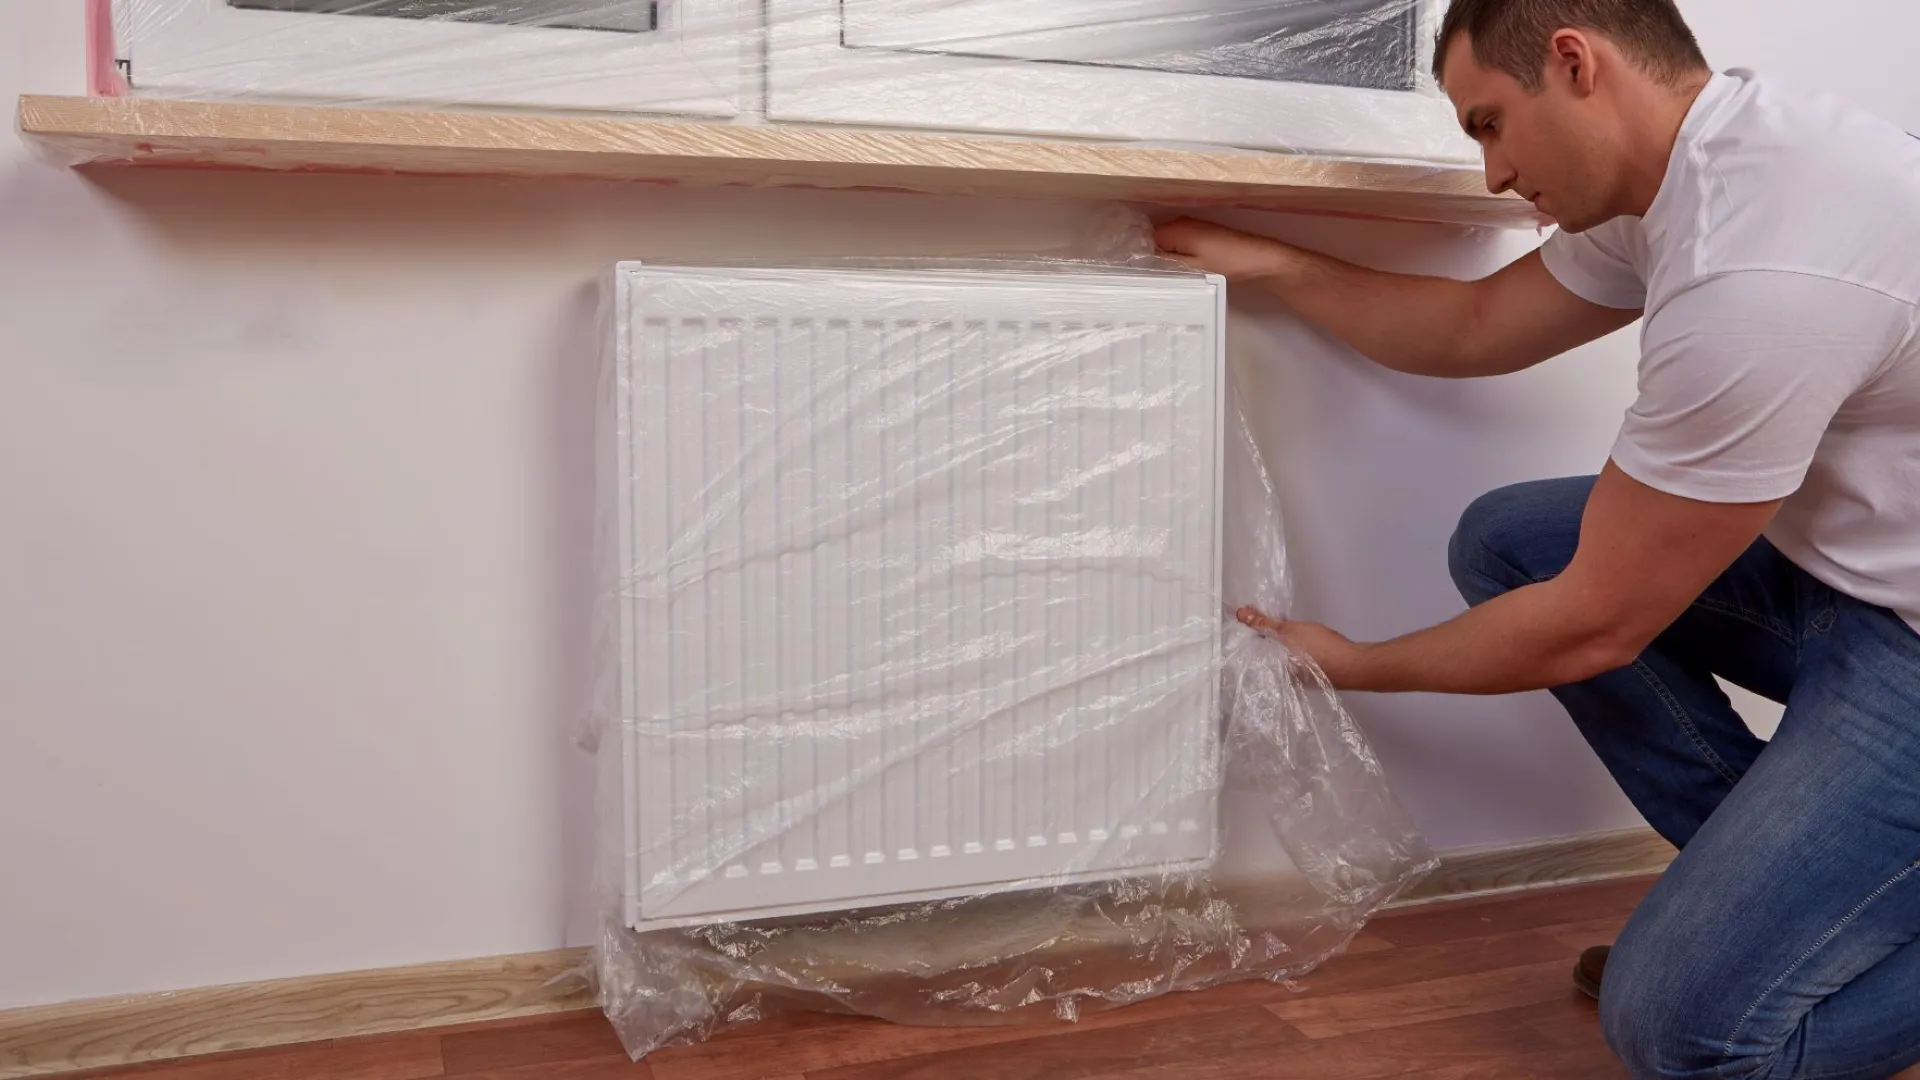
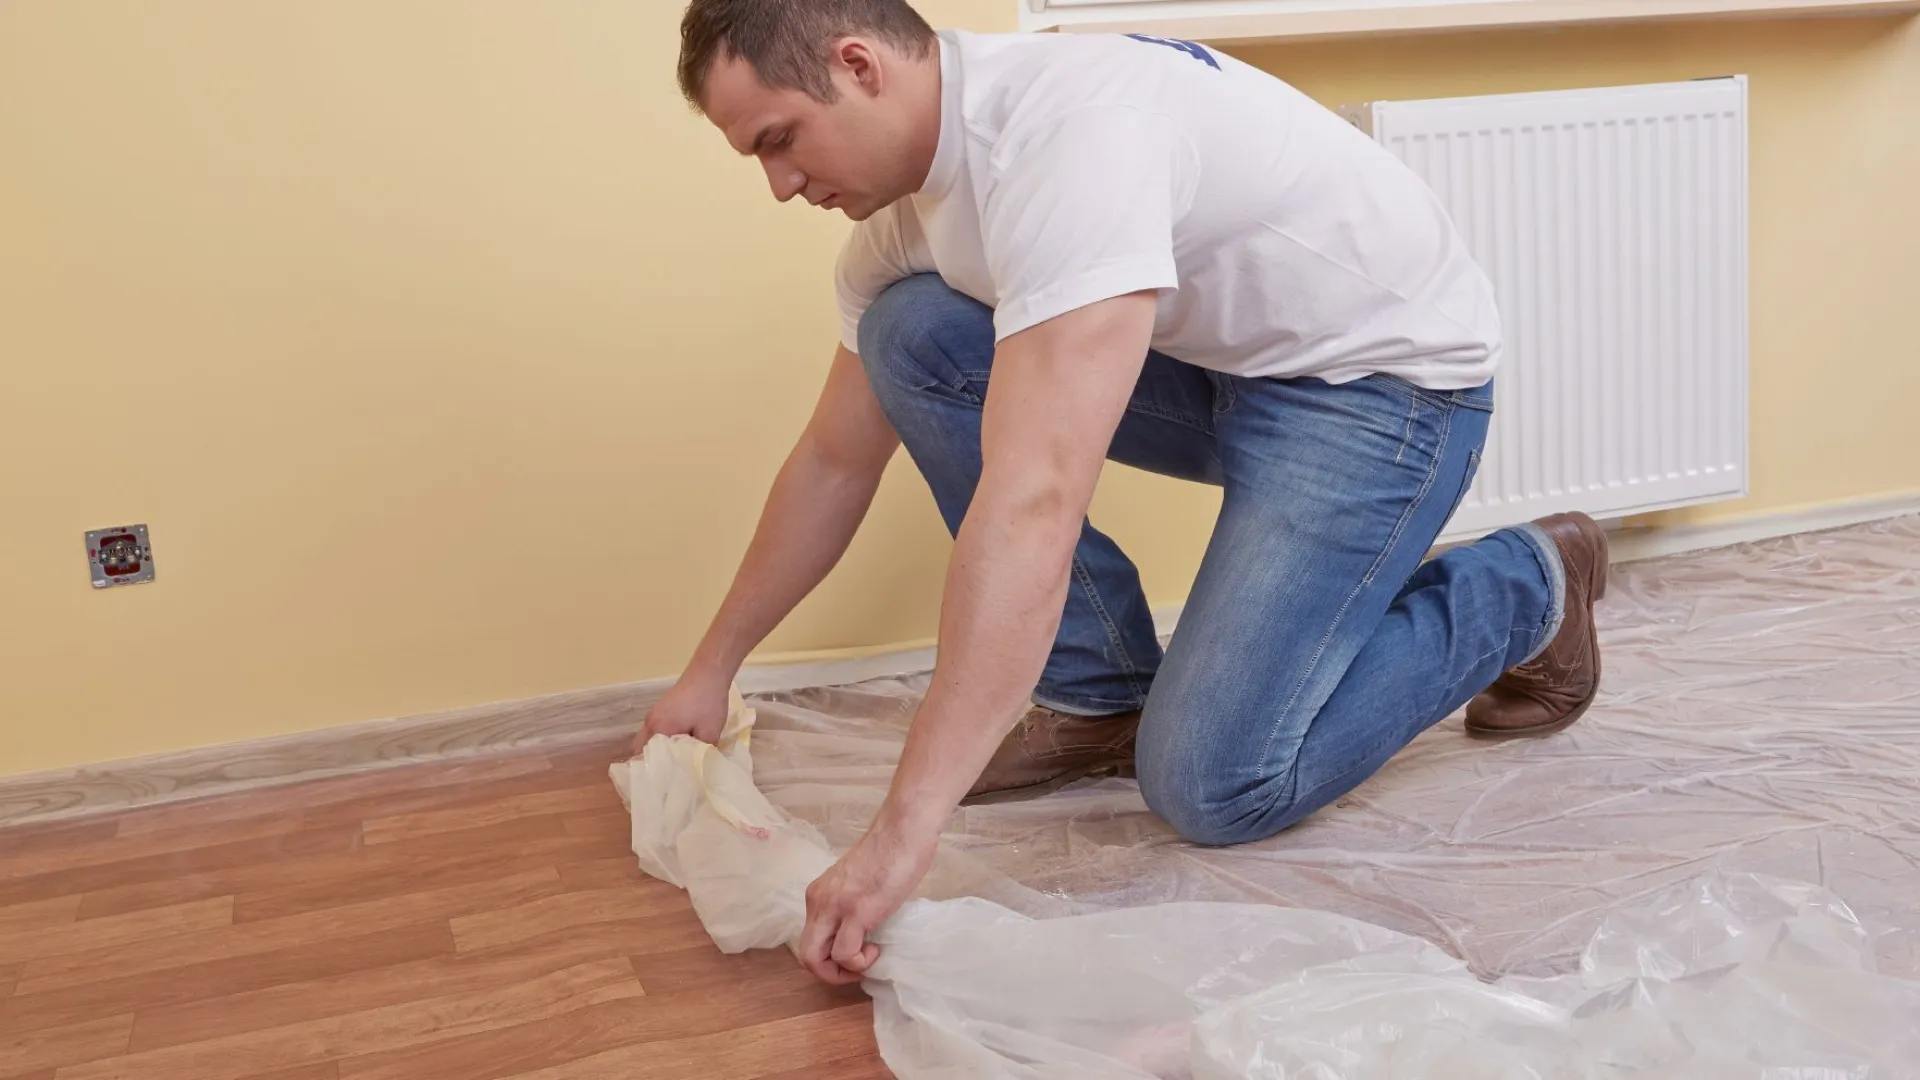
Protection before painting
Before you begin painting, it is recommended that you protect all window , radiator and floor surfaces, and other pieces of equipment in the room that could be marked by paint. This should be done using masking tape and a drop cloth. It is best to remove any fittings such as socket cover plates and switches, and to protect the remaining parts with a drop cloth and masking tape.
Filling any cavities
Chippings and surface irregularities must be patched with gypsum plaster and left to dry. For previously painted surfaces, begin by checking the adhesion of the old paint to the substrate, next use a putty knife to peel off any loose patches, and then apply gypsum plaster to fill in any cavities.
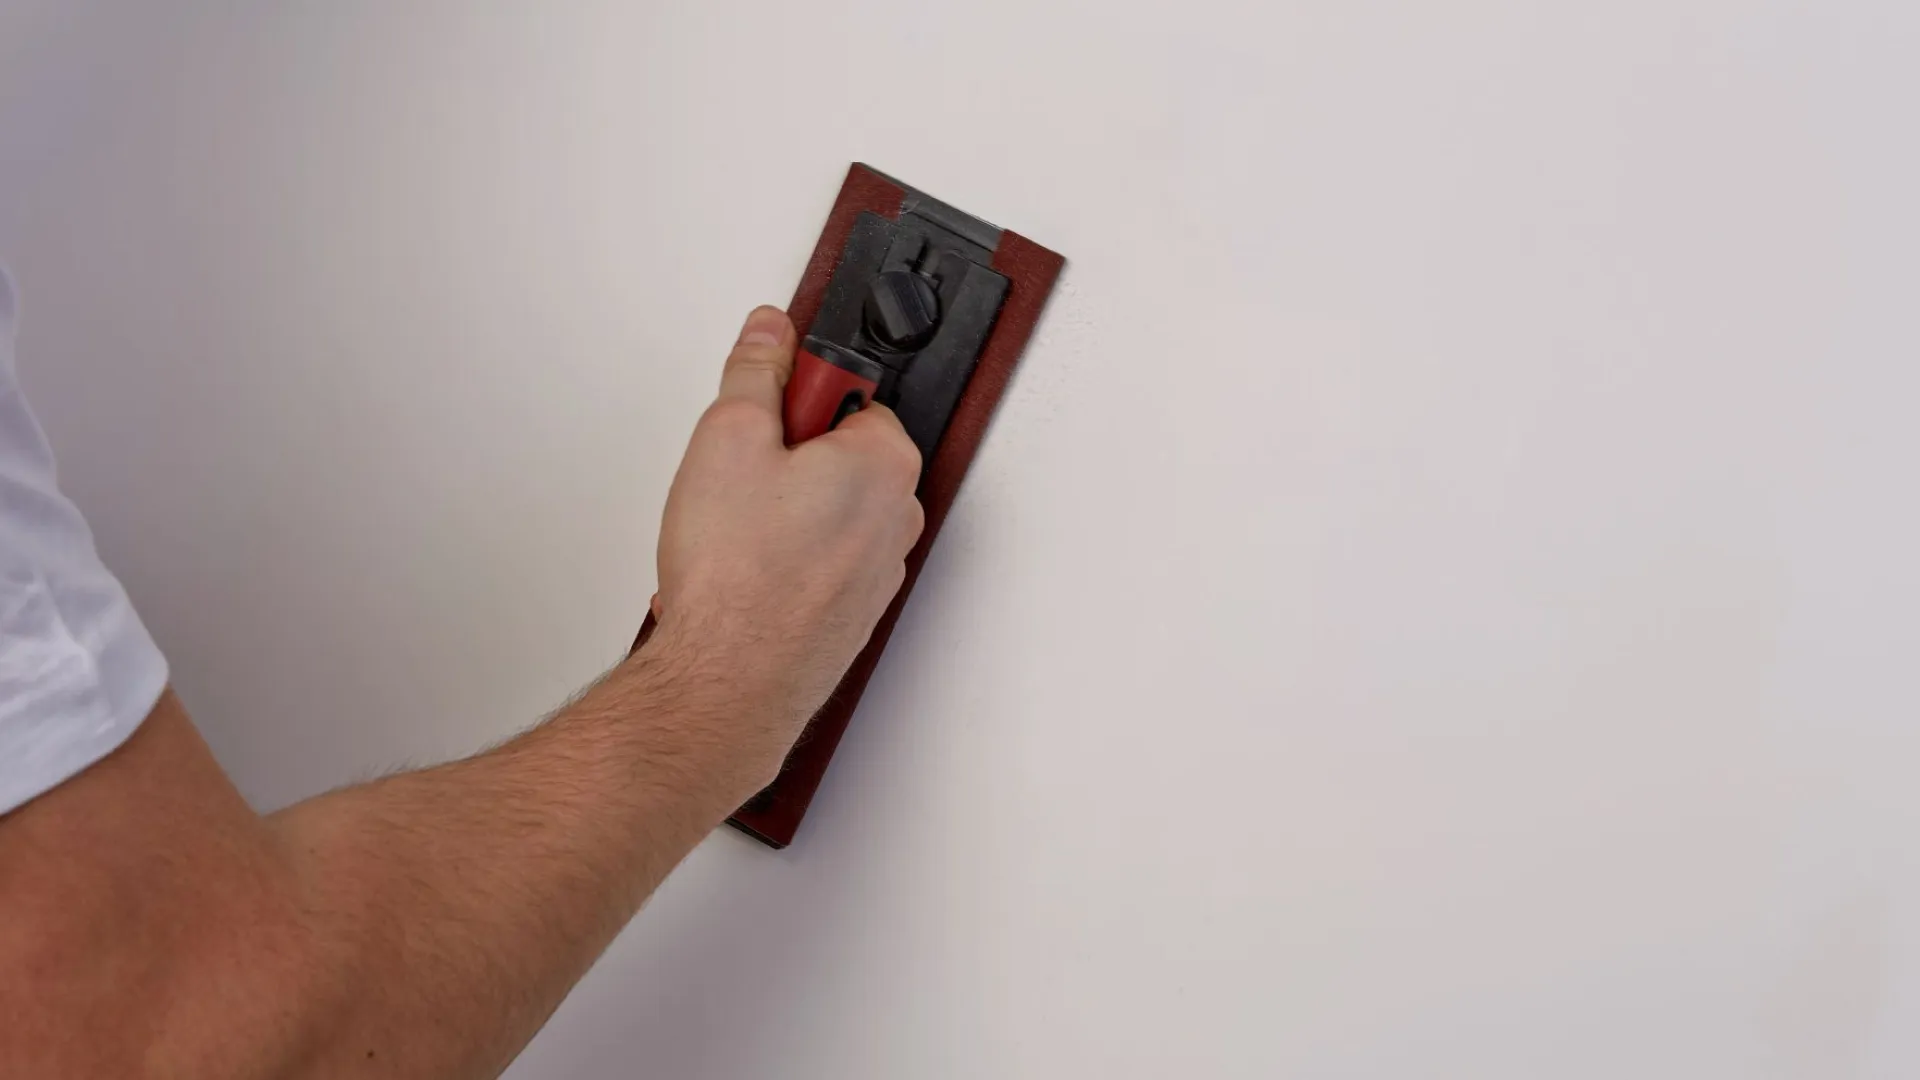
Smoothing the surface with sandpaper
Once the gypsum plaster is completely dry, the patched areas must be sanded with sandpaper to leave the surface of the wall smooth and even. For previously painted surfaces, use sandpaper to smooth and even out any spots that have been repaired with gypsum plaster. Additionally, roughen the entire wall surface using a fine grit sandpaper to ensure better adhesion of the paint to the existing substrate.
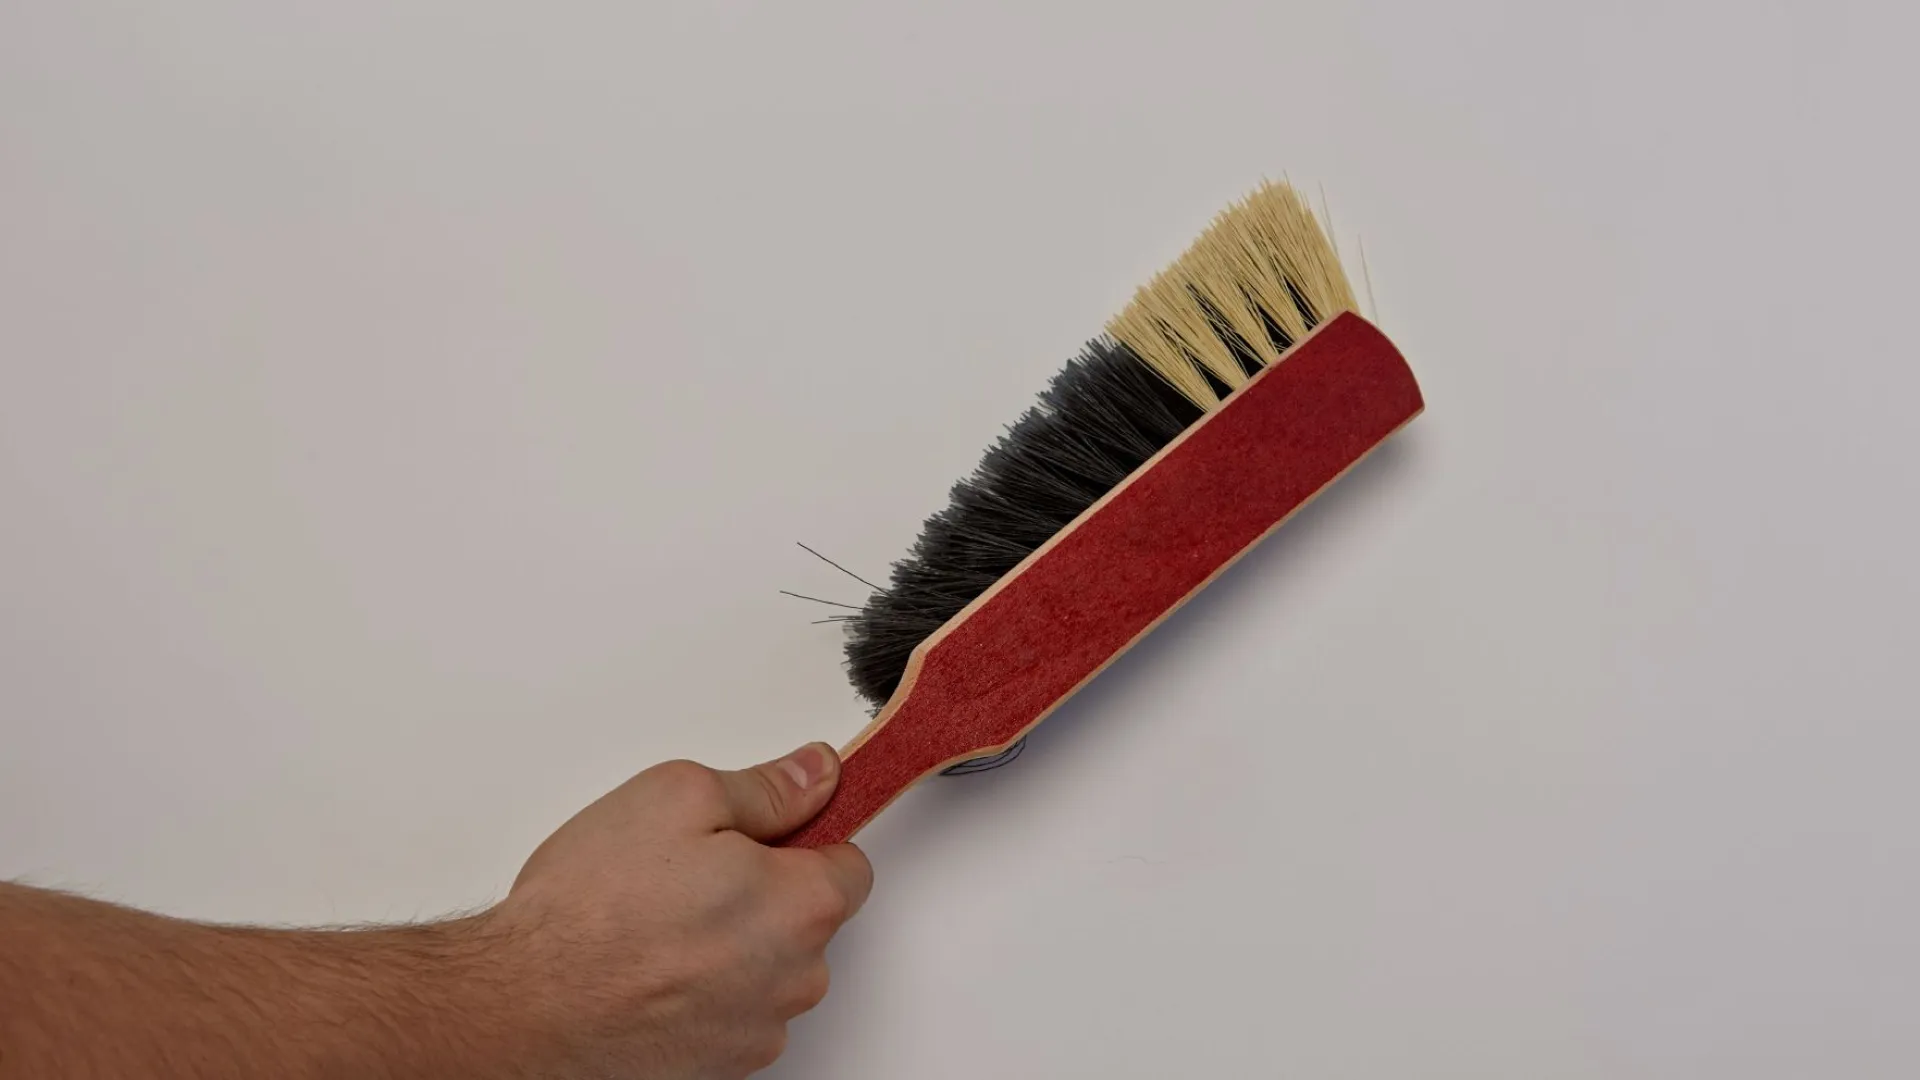
Removing the dust
After sanding, you need to remove all dust from the wall using a brush.
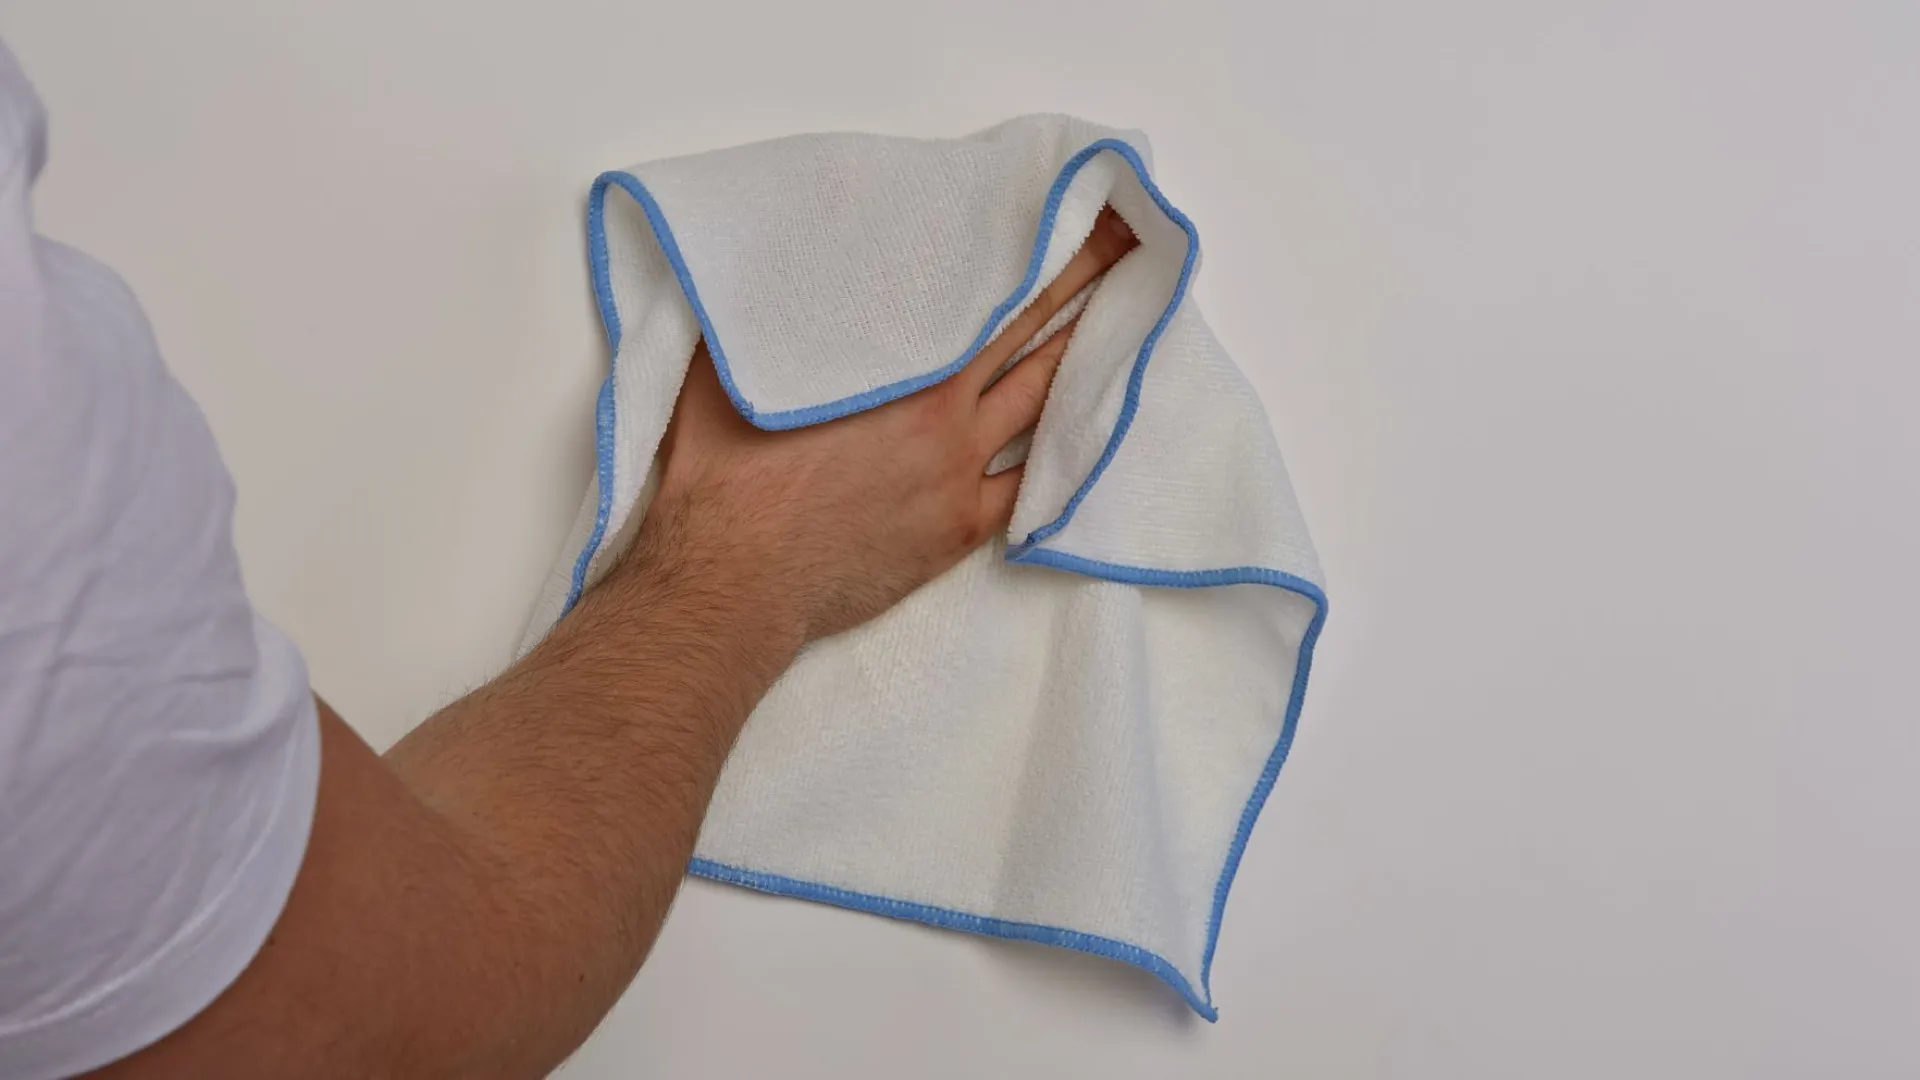
Degreasing the surface
To degrease the surface and remove any dust, use a moist cloth and water with a mild cleaning agent. Degreasing is critical for previously painted surfaces, especially in kitchens.
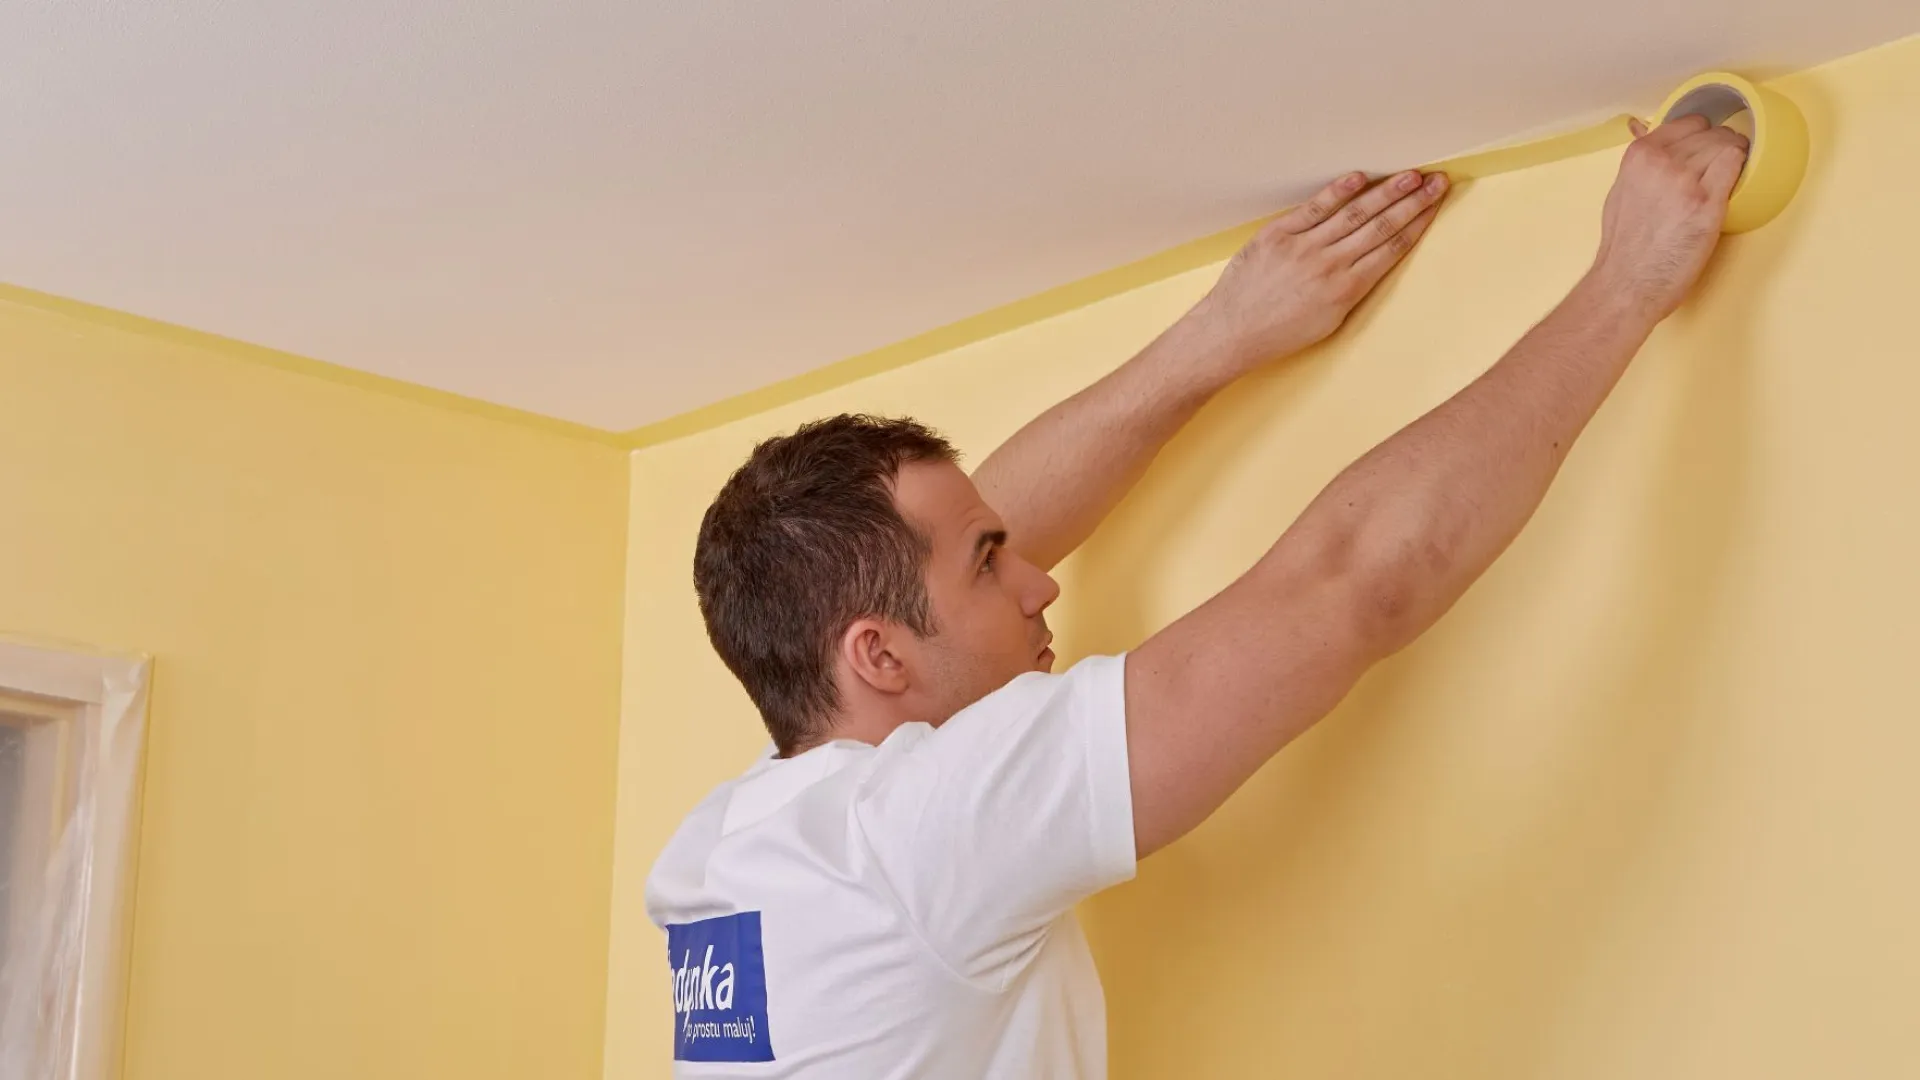
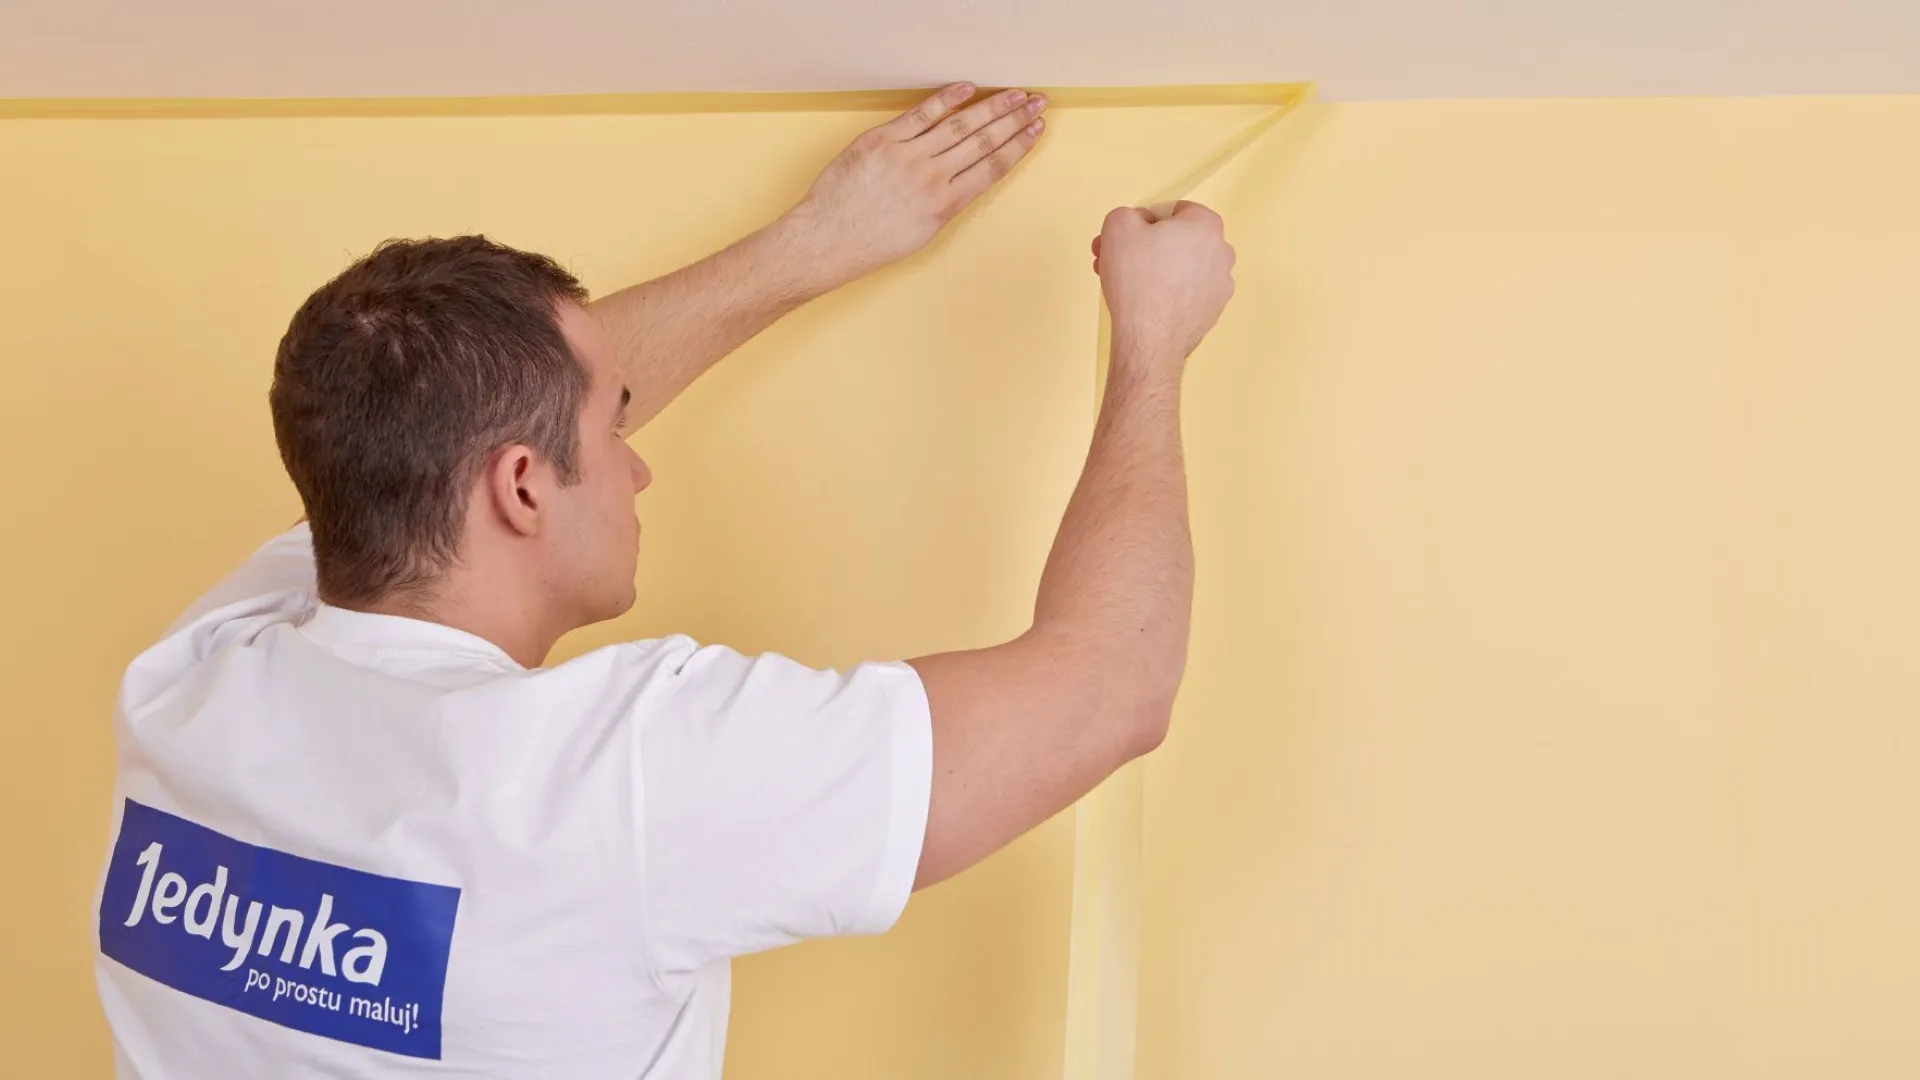
Preparing the surface
Before you begin painting the ceiling, protect all wall corners with masking tape. The tape should be secured to a dry surface, and it is best to remove it right after painting to help prevent the new paint coat from coming off with the tape.
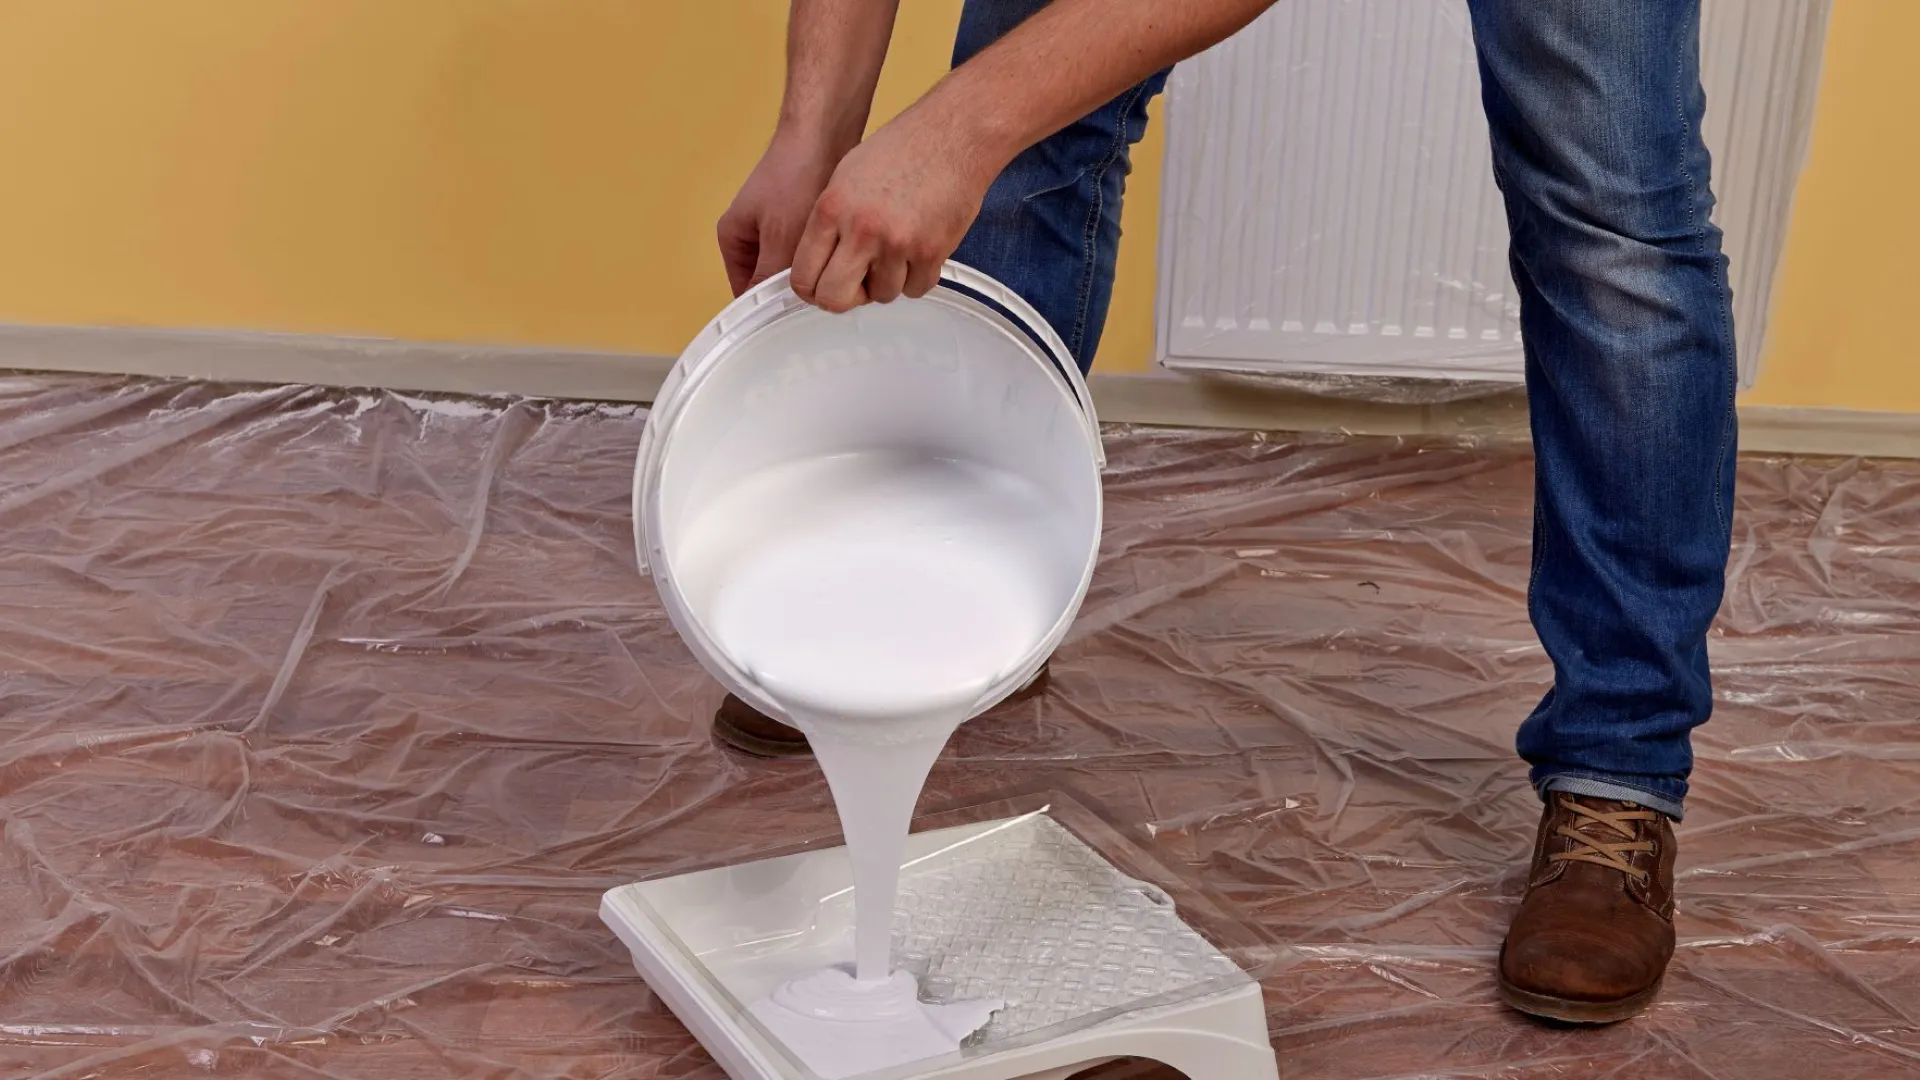
Preparing the product
Use water to thin the priming paint to 40%, and mix in thoroughly. Then pour the paint into the paint tray.
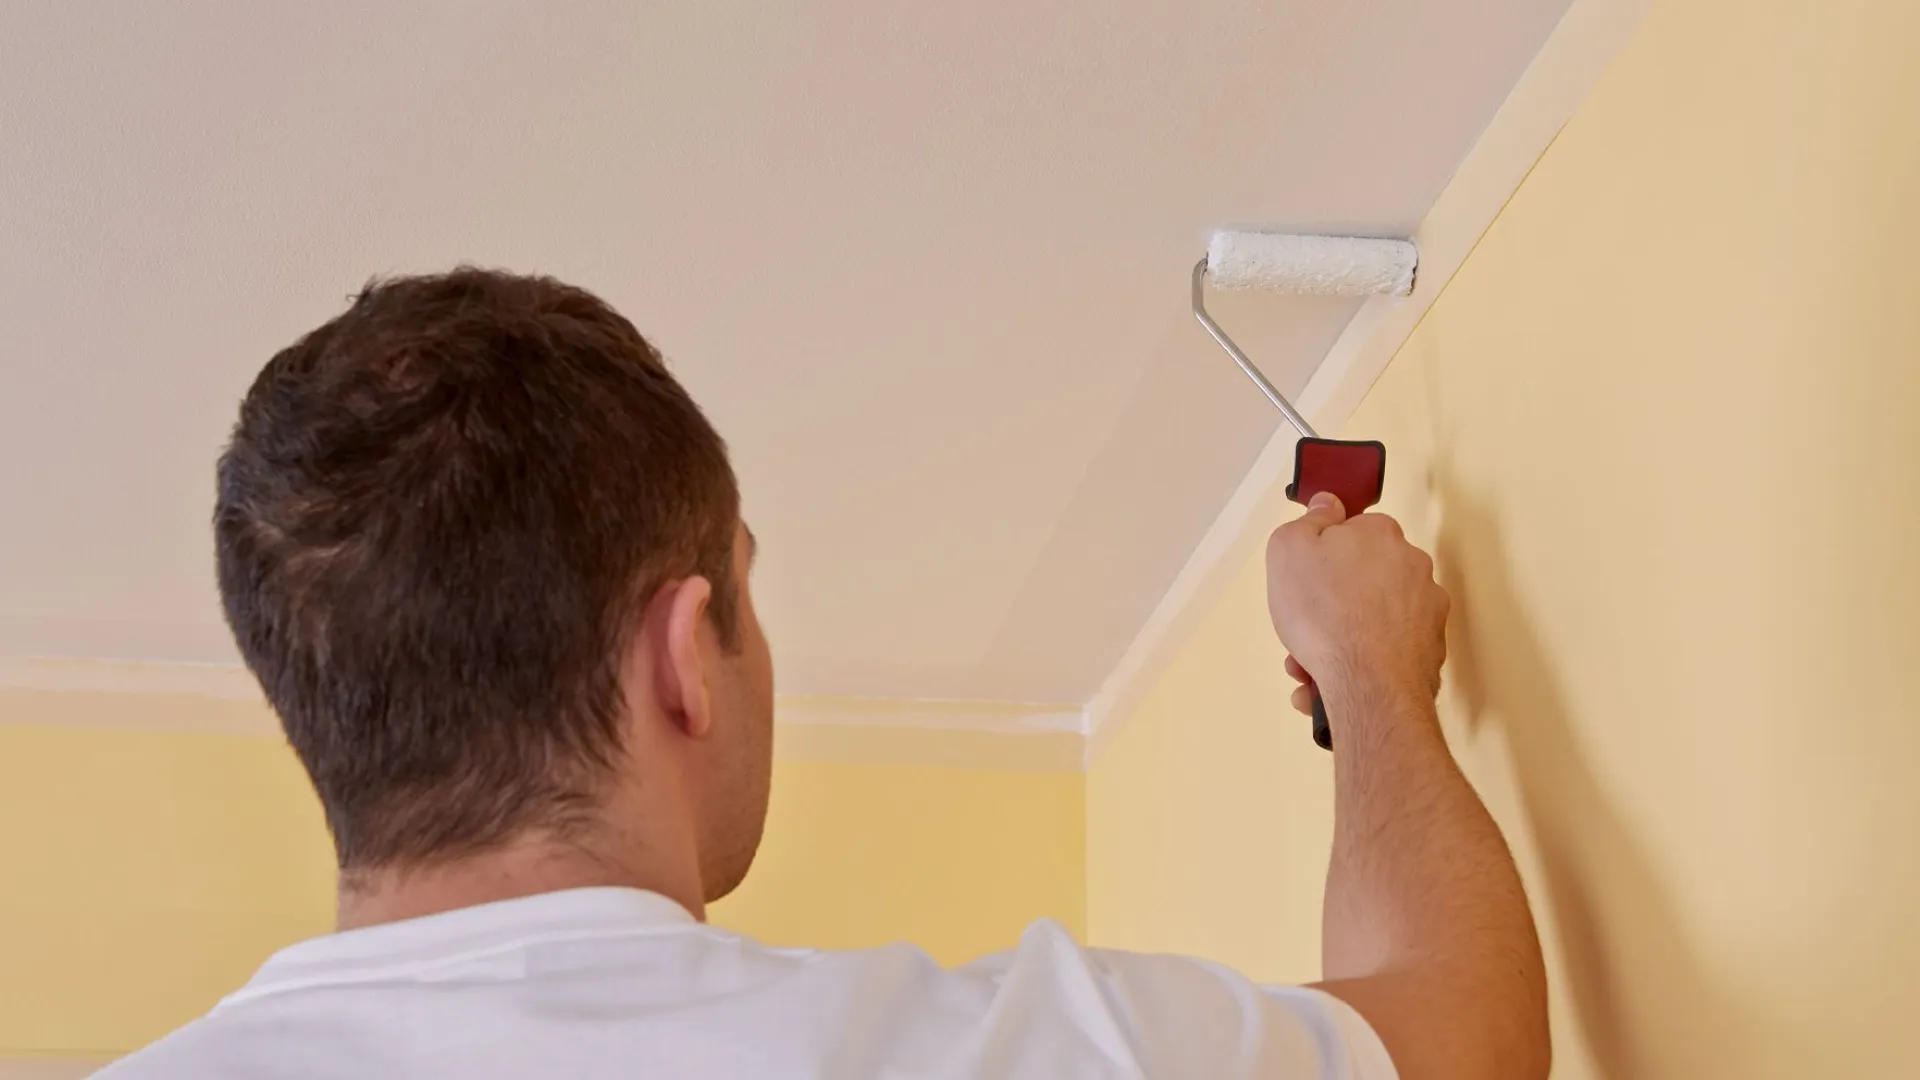
Priming the ceiling
Begin priming the ceiling by using a small paint roller (10 or 15 cm wide) to paint the corners. After priming the corners, proceed to prime the remaining surface of the ceiling using a large paint roller (18 or 25 cm wide) mounted on an extension pole. Remove the masking tape right after painting.
Preparing the surface
Before you begin painting the walls, protect the ceiling corners with masking tape. The tape should be secured to a dry surface, and it is best to remove it right after painting to help prevent the new paint coat from coming off with the tape.
Preparing the product
Use water to thin the priming paint Jedynka Grunt to 40%, and mix in thoroughly. Then pour the paint into the paint tray.
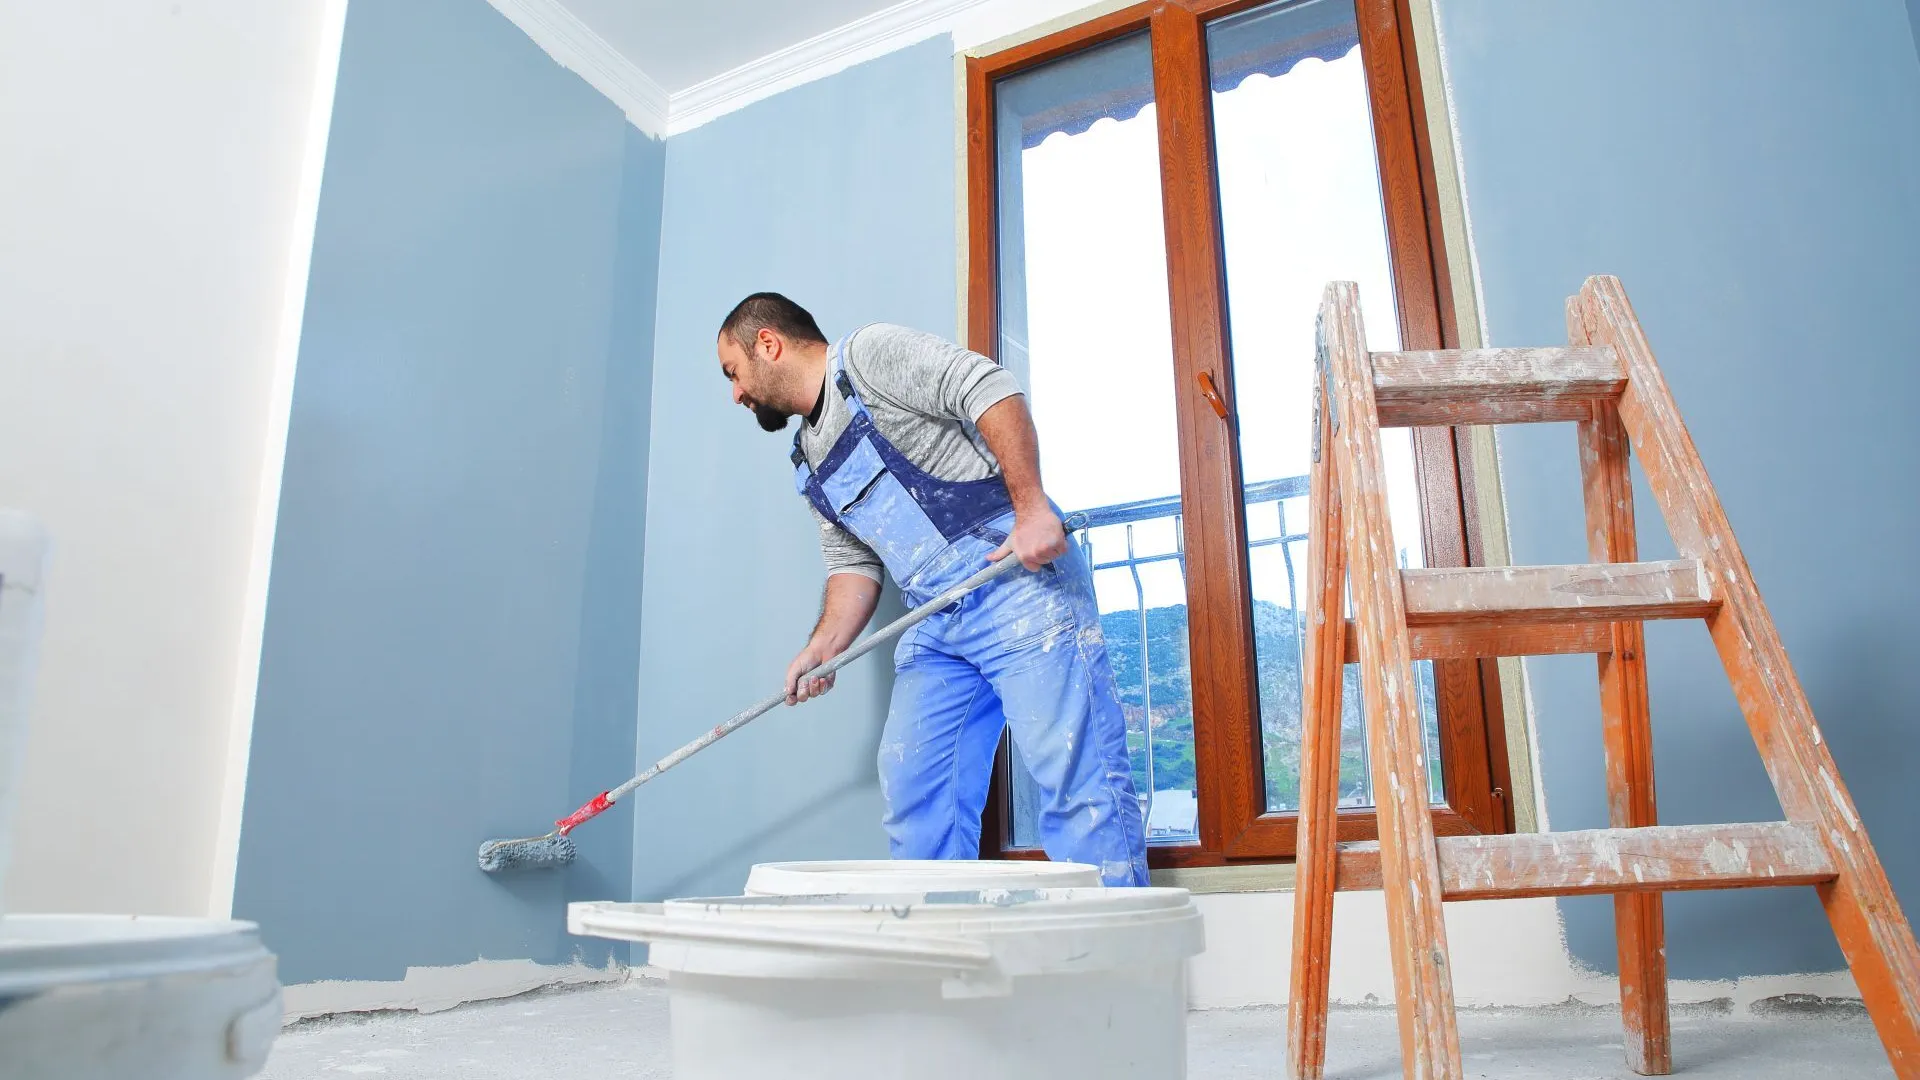
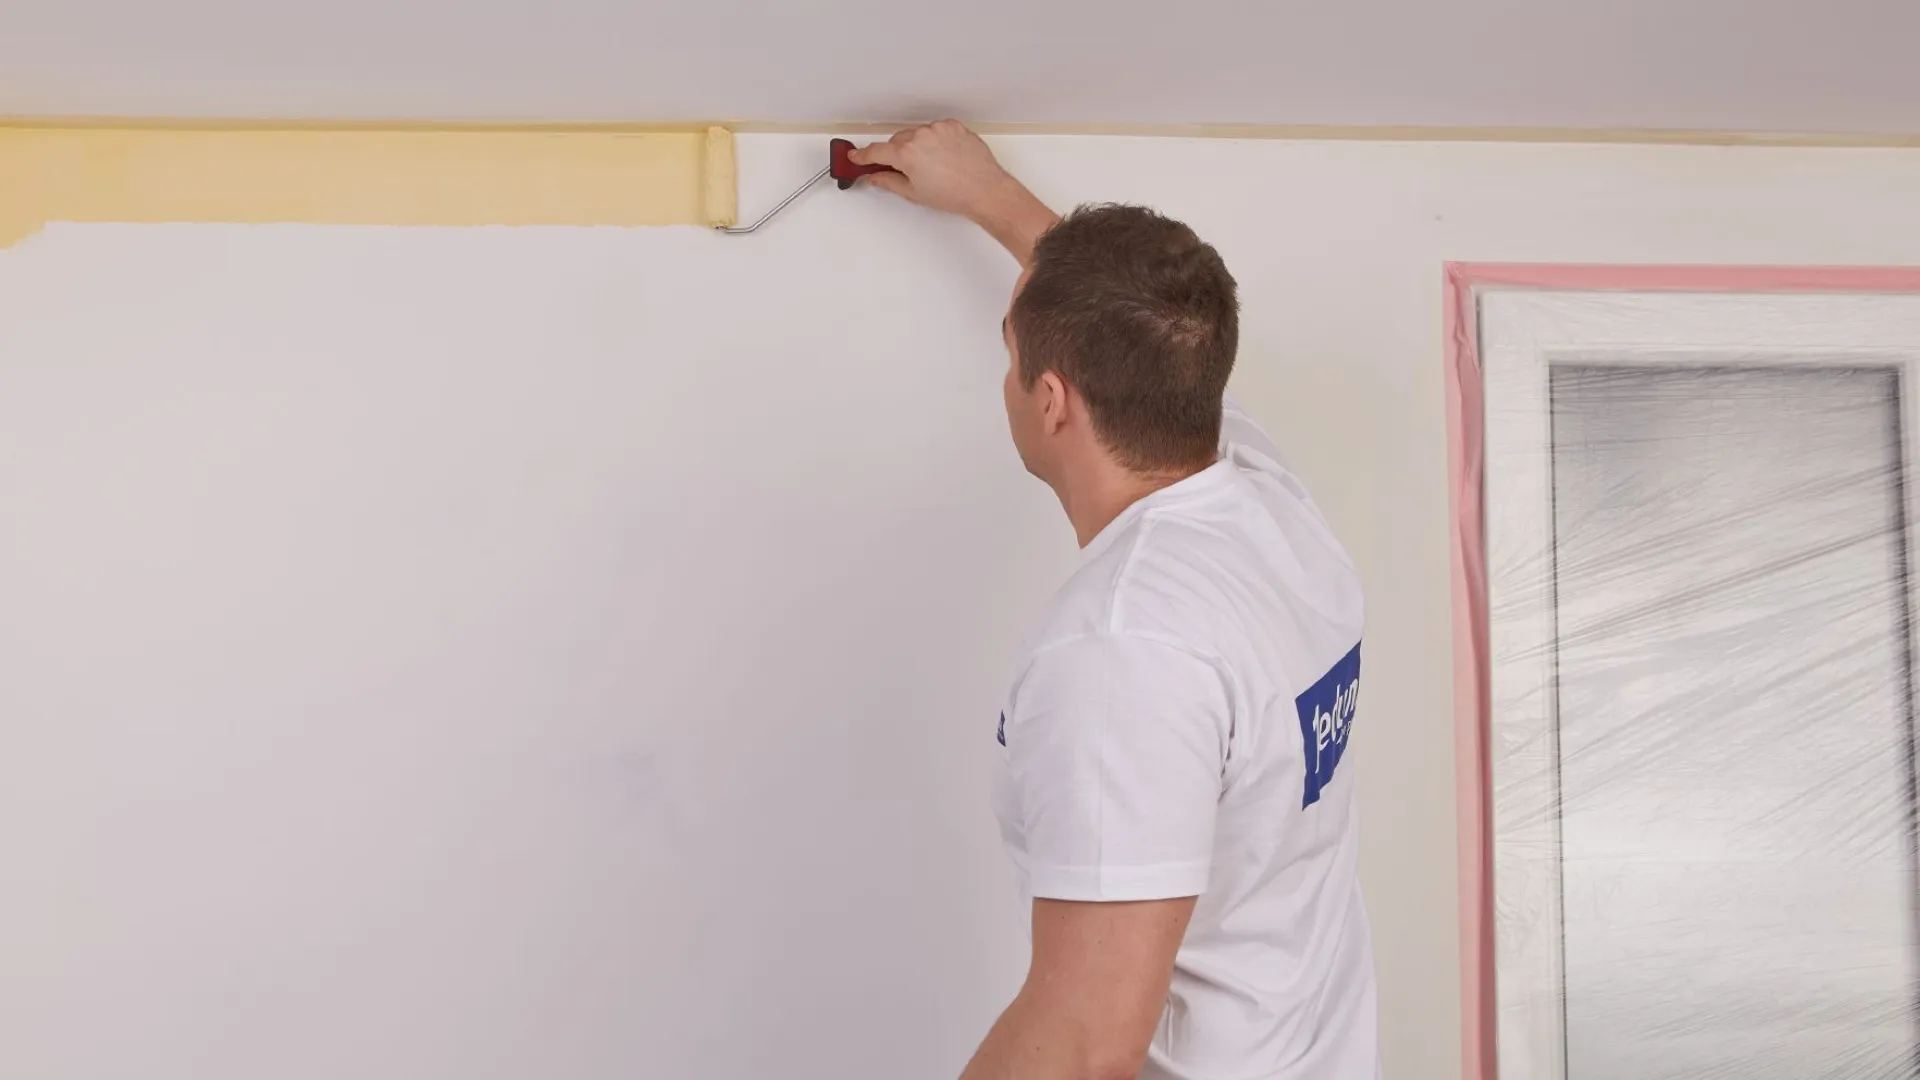
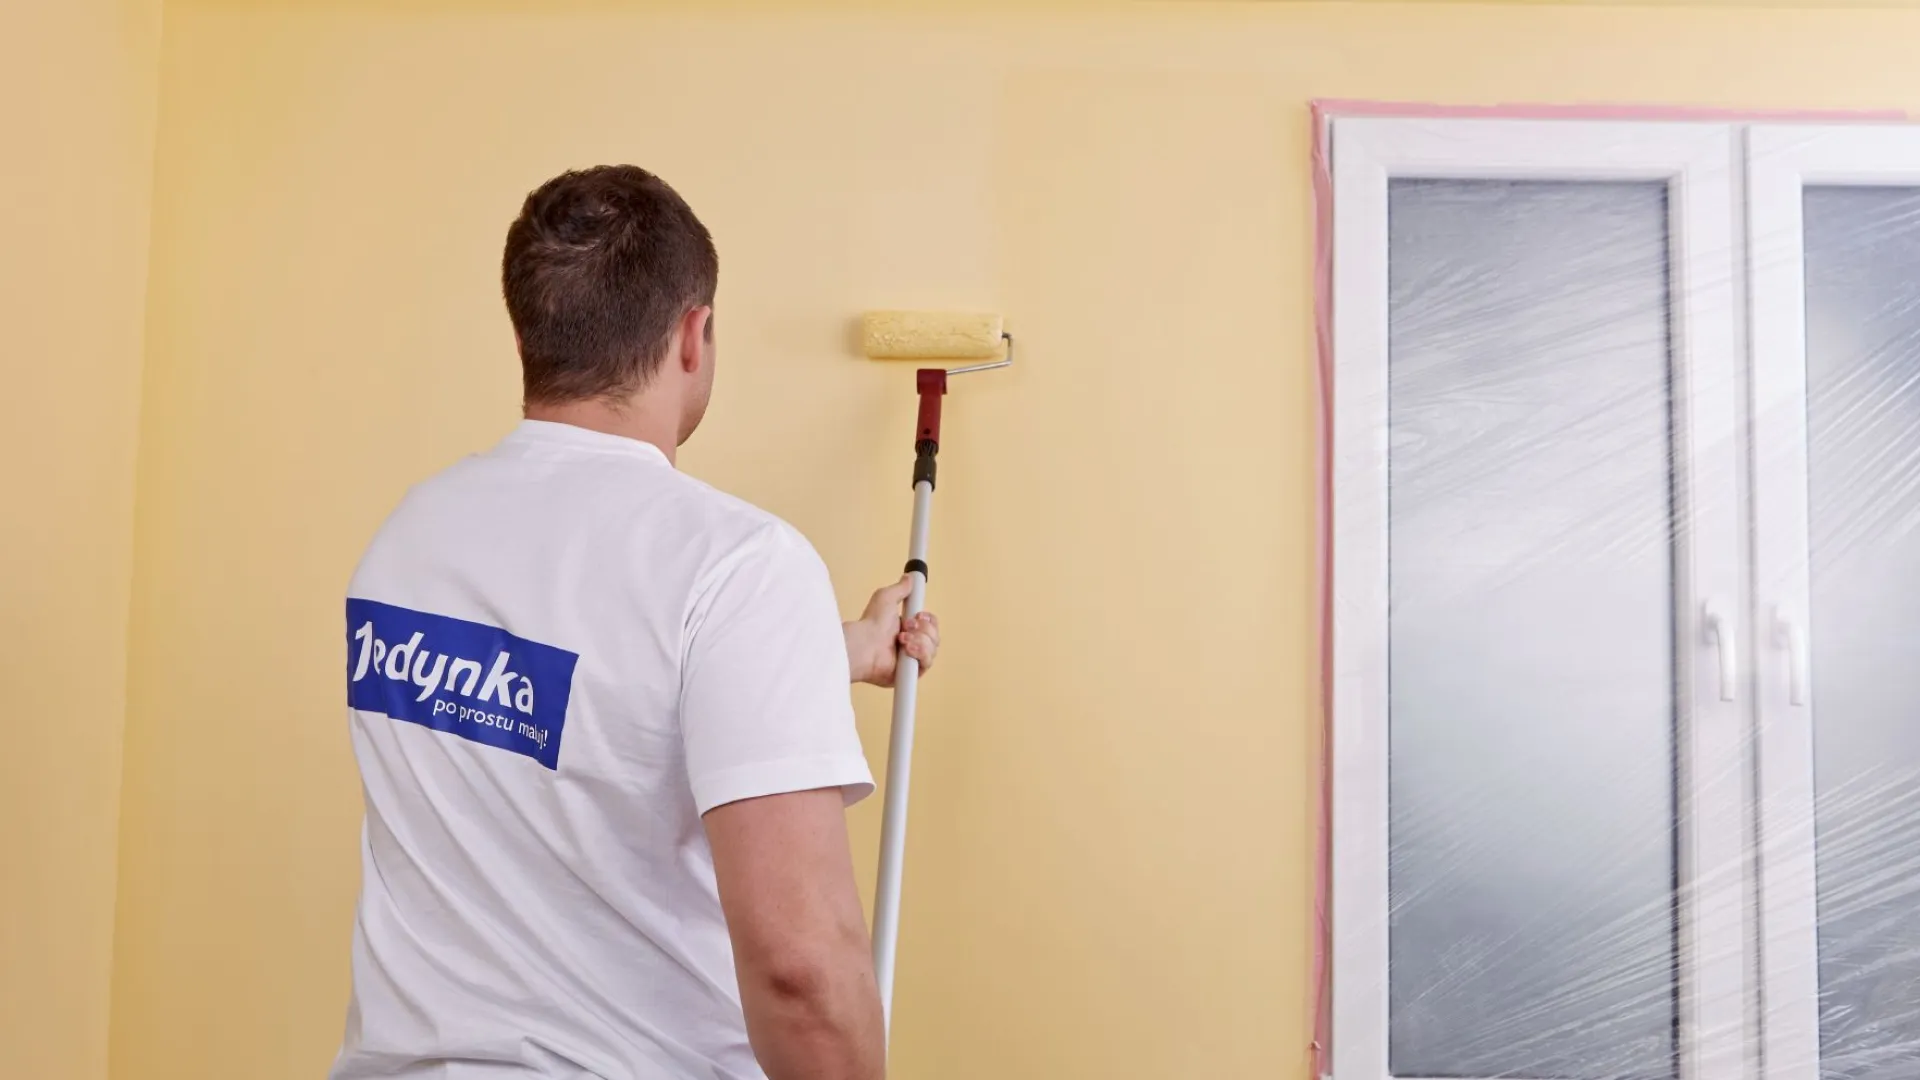
Priming the walls
Use a small paint roller (10 or 15 cm wide) to prime the corners and all areas that are difficult to reach. Prime the remaining wall surface using a large paint roller (18 or 25 cm wide) mounted on an extension pole, beginning from a wall corner and moving to the left or right. The paint should be applied in horizontal movements to cover the entire length of the wall. Note: To prevent any streaks, the last movement must be a top-to-bottom movement. Remove the masking tape right after painting.
Preparing the surface
Before you begin painting the ceiling, protect all the wall corners with masking tape. The tape should be secured to a dry surface, and it is best to remove it right after painting to help prevent the new paint coat from coming off with the tape.
Preparing the product
Stir the paint Jedynka Perfekcyjna Plus to mix it thoroughly, and then pour it into the paint tray.
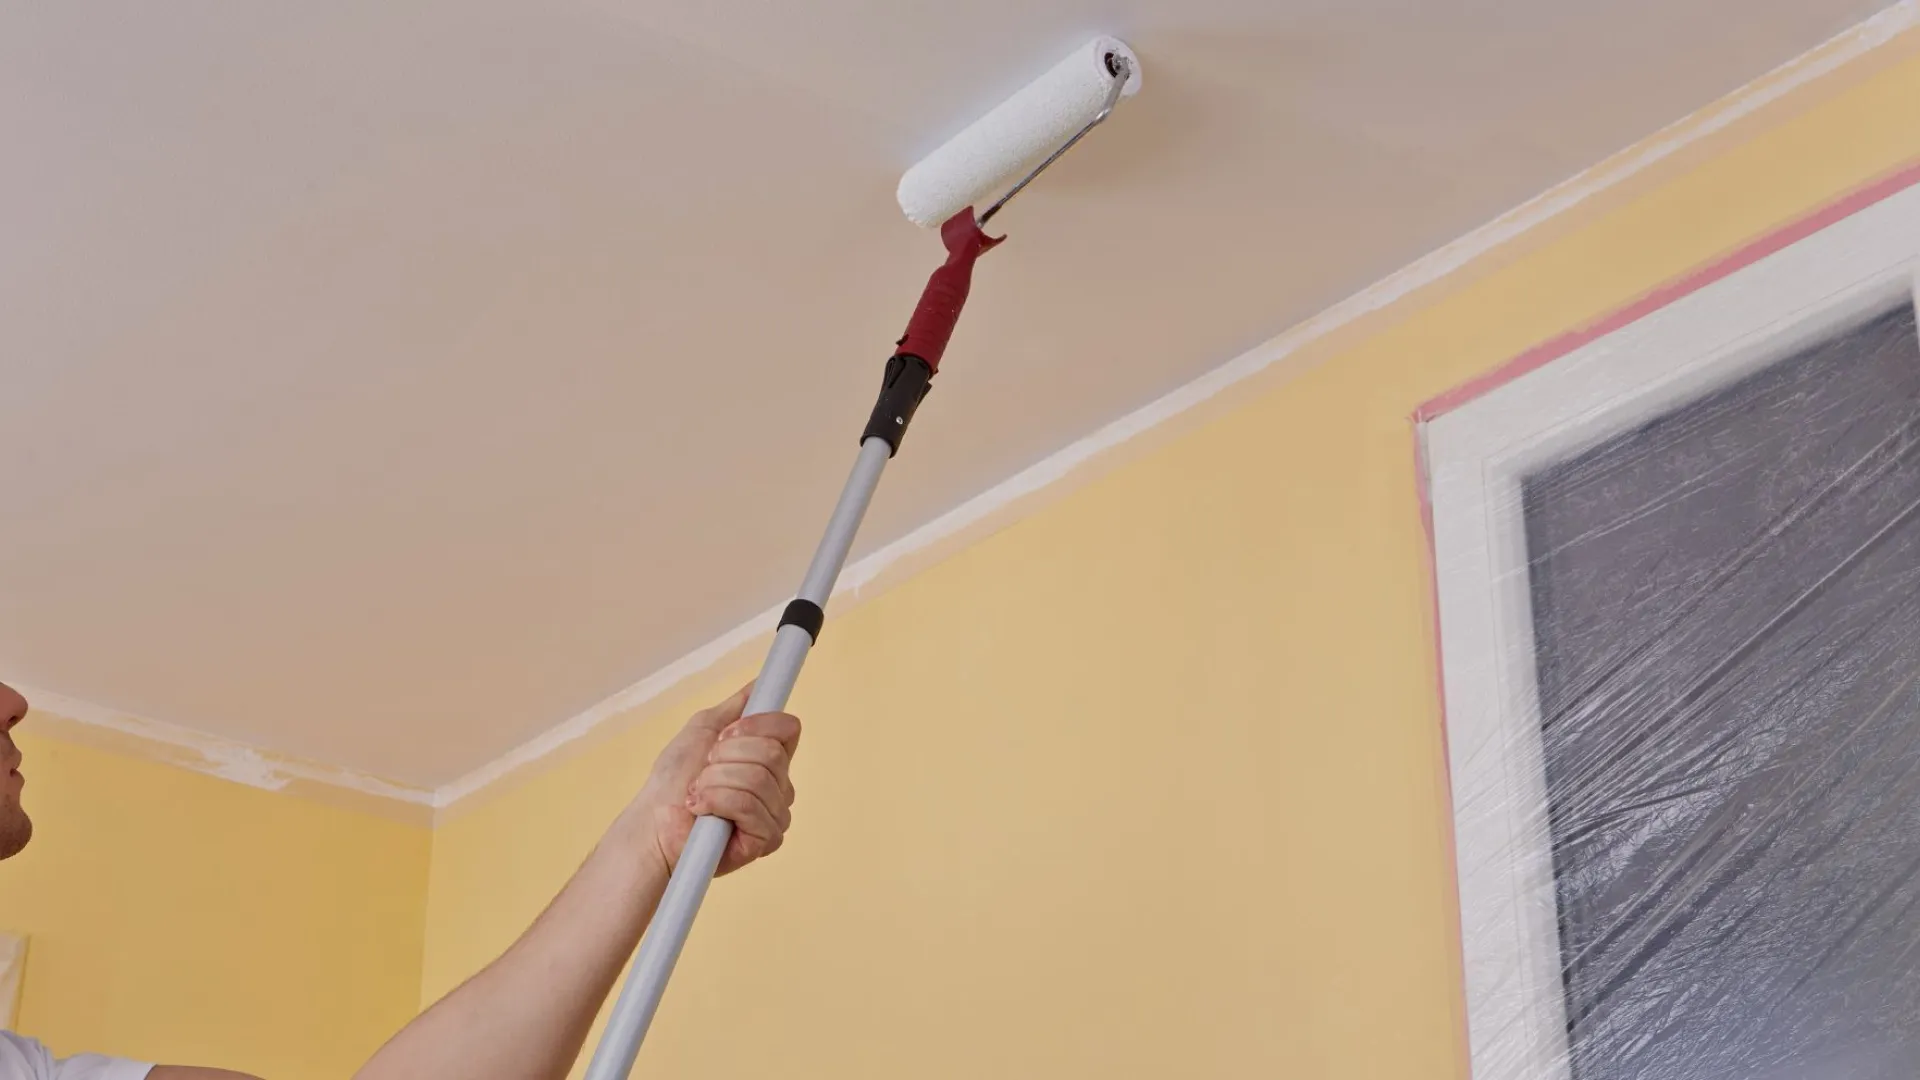
Painting the ceiling – first layer
As with priming the ceiling, begin by using the same small paint roller to paint the corners . Next, use a large paint roller on an extension pole to apply the first layer of paint in parallel to the strongest light source in the room. Remove the masking tape right after painting.
Painting the ceiling – second layer
Apply a second layer of paint after 4 hours and begin by painting the corners with a small roller. Next, use a large paint roller mounted on an extension pole to apply the second layer of paint at a right angle to the strongest light source in the room.
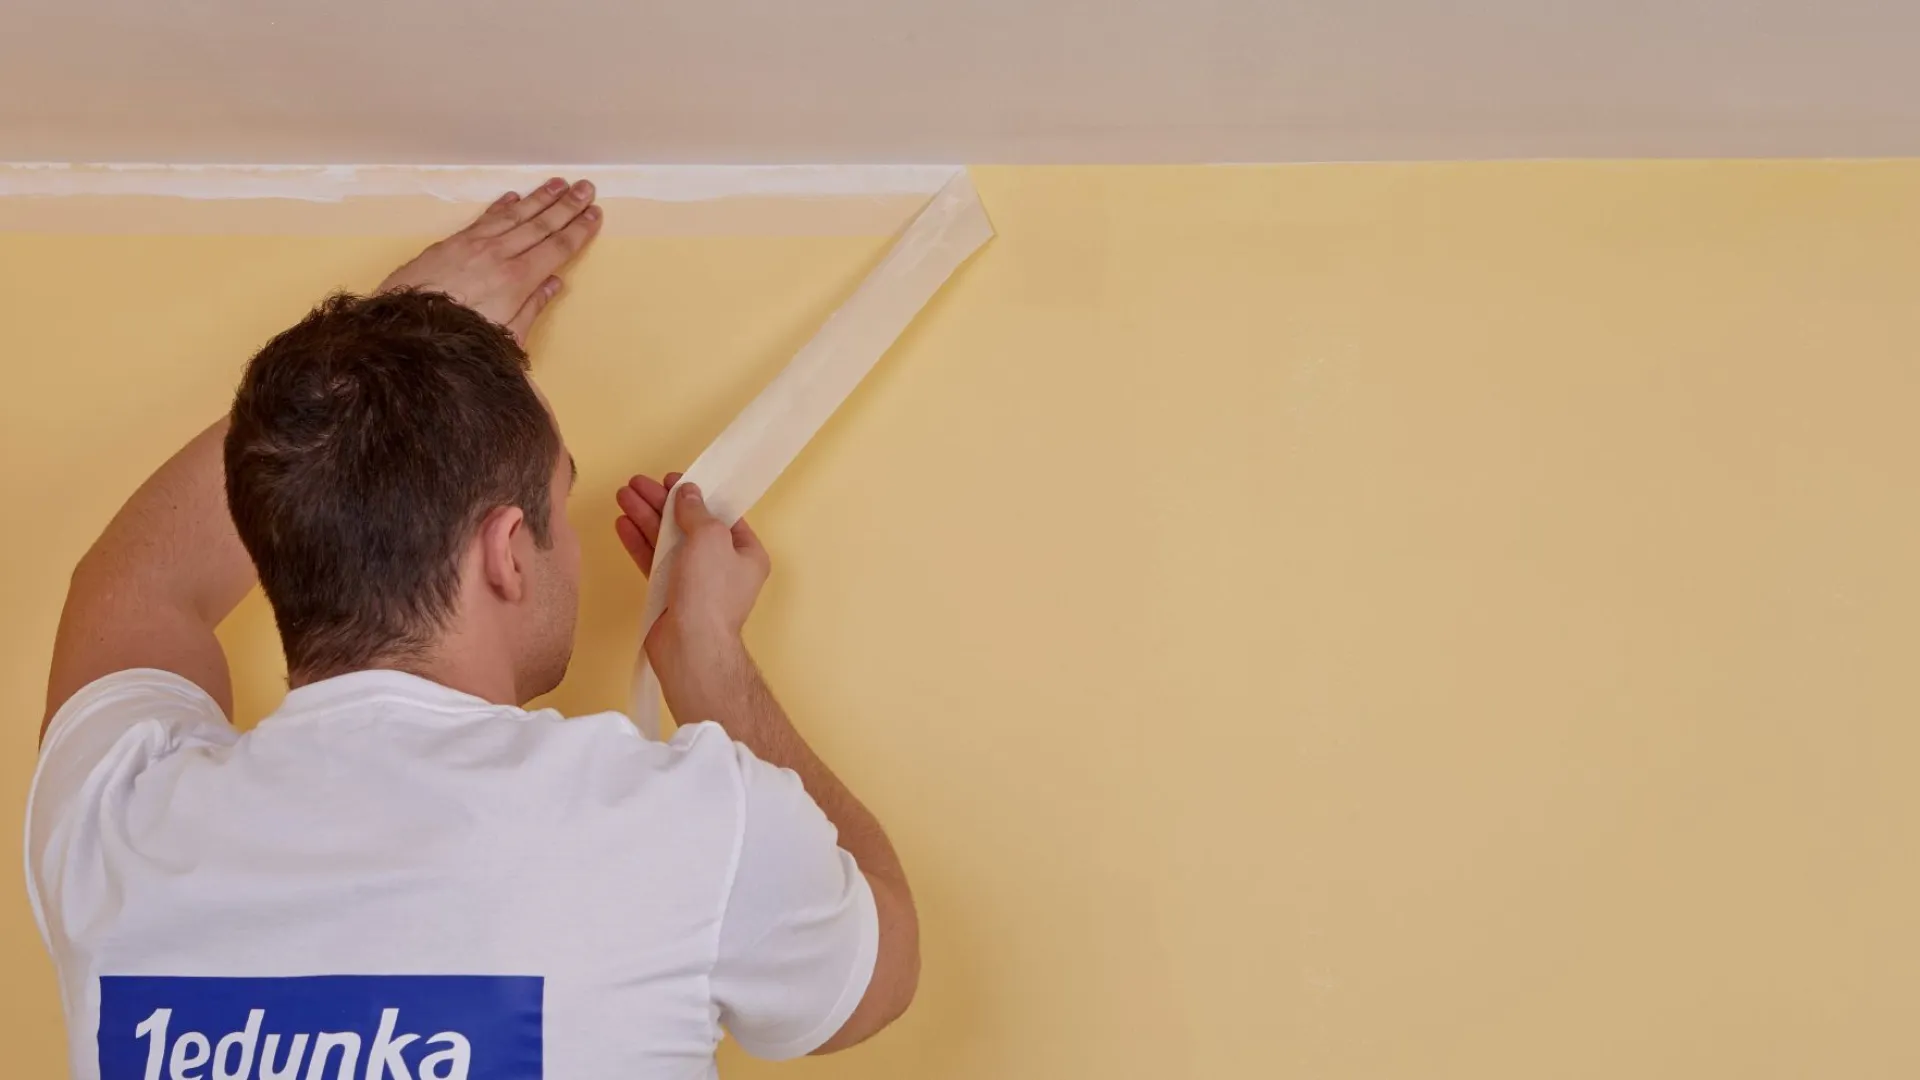
Removing the masking tape
It is best to remove the masking tape right after painting each new layer, before the fresh layer dries on the tape. To prevent peeling of the paint together with the tape, remove the paint slowly and at an appropriate angle.
Preparing the surface
Before you begin painting the walls, protect the ceiling corners with masking tape. The tape should be secured to a dry surface, and it is best to remove it right after painting to help prevent the new paint coat from coming off with the tape.
Painting the walls – first layer
First, use a small paint roller (10 or 15 cm wide) to paint the corners and all areas that are difficult to reach. Prime the remaining wall surface using a large paint roller (18 or 25 cm wide) mounted on an extension pole, beginning from a wall corner and moving to the left or right. Apply the paint in horizontal movements to cover the entire length of the wall. Note: To prevent any streaks, the last movement must be a top-to-bottom movement. Remove the masking tape right after painting. Od razu po malowaniu ostrożnie odkleić taśmę malarską.
Painting the walls – second layer
First, use a small paint roller (10 or 15 cm wide) to paint the corners and all areas that are difficult to reach – in exactly the same way as for the first layer. Prime the remaining wall surface using a large paint roller (18 or 25 cm wide) mounted on an extension pole, beginning from a corner of the wall and moving to the left or right. Apply the paint in horizontal movements to cover the entire length of the wall. Note: To prevent any streaks, the last movement must be a top-to-bottom movement. Remove the masking tape right after painting. Od razu po malowaniu ostrożnie odkleić taśmę malarską.
Removing the masking tape
Removing the masking tape It is best to remove the masking tape right after painting each new layer, before the fresh layer dries on the tape. To prevent peeling the paint together with the tape, remove the paint slowly and at an appropriate angle.
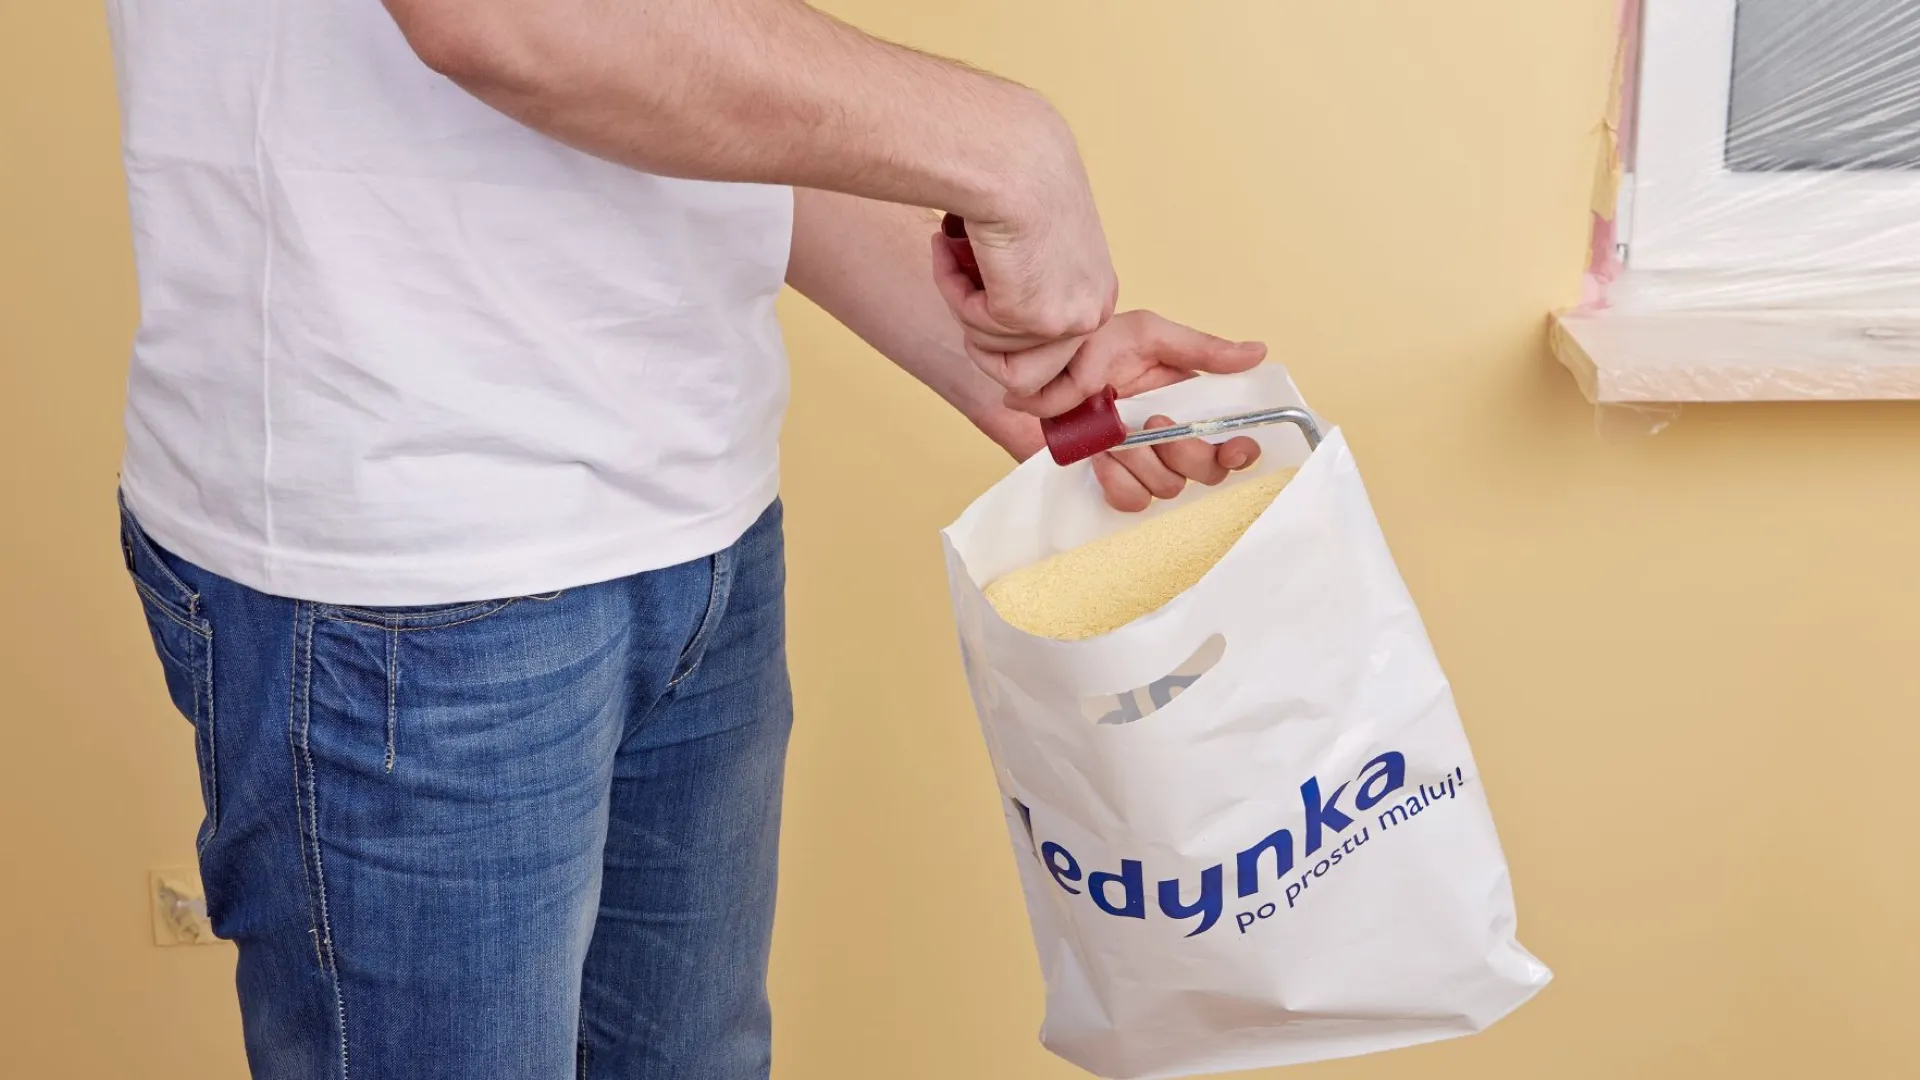
Tool care while painting
To avoid having to wash the roller again and again between painting each new layer, you can store it temporarily in a tightly closed plastic bag. This will prevent the paint from drying on the tool. For longer intervals between applying new layers, it is recommended to clean the paint roller and dry it well prior to re-use.
Removing the drop cloth
Once painting is complete, remove the drop cloth from all protected surfaces, i.e. windows, radiators and floors.
Cleaning the tools
After painting is complete, clean your painting tools thoroughly in water and leave them to dry.